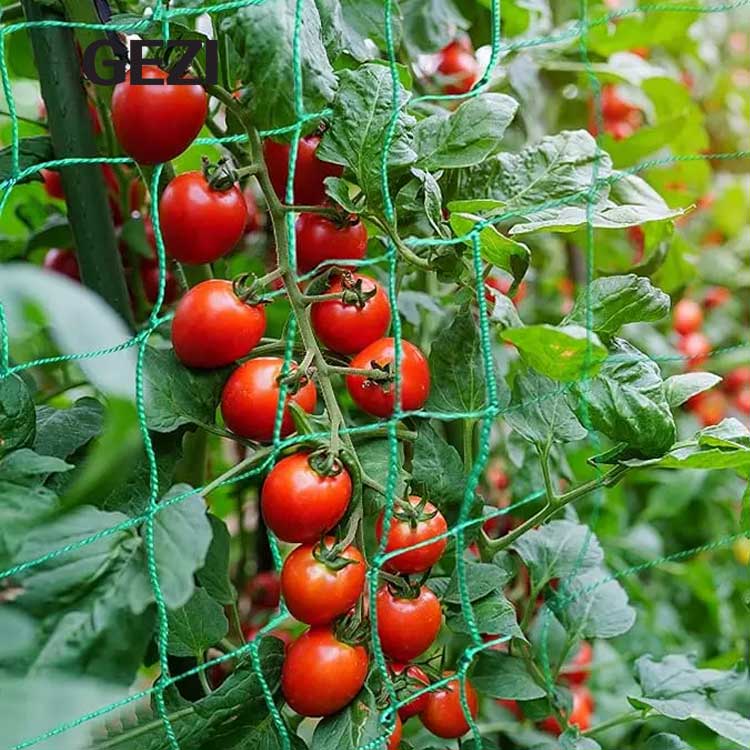
Trellis netting is a game-changer for farmers and gardeners aiming to boost crop productivity. When installed correctly, it provides essential support for climbing plants like tomatoes, cucumbers, peas, and grapes, improving air circulation, sunlight exposure, and pest control. In this guide, we’ll walk you through the step-by-step process to install trellis netting for optimal results.
Why Proper Installation Matters
1. Maximizes Space: Vertical growth saves ground space, ideal for small gardens or commercial vertical farming.
2. Enhances Crop Health: Reduces soil-borne diseases by keeping plants off the ground.
3. Increases Yield: Properly supported plants grow stronger and produce more fruit.
4. Durable & Reusable: High-quality HDPE trellis netting (UV-resistant and weatherproof) can last multiple seasons.
Materials & Tools Needed
1. Trellis Netting: Choose a heavy-duty, UV-stabilized net (e.g., 6x6 cm mesh for tomatoes, 10x10 cm for cucumbers).
2. Support Structure: Wooden posts, metal T-posts, or PVC pipes.
3.Zip Ties/Clips: For securing the net to the frame.
4. Staple Gun (optional): To attach netting to wooden posts.
5. Measuring Tape & Scissors.
Step-by-Step Installation Guide
Step 1: Plan Your Layout
Crop Type: Match mesh size to plant needs (smaller mesh for delicate plants like peas, larger for heavy fruits like melons).
Sunlight Direction: Orient rows north-to-south for even light distribution.
Spacing: Leave 2-3 feet between rows for easy access.
Step 2: Set Up the Support Structure
Install Posts:
Drive posts 1-2 feet deep into the ground, spaced 6-8 feet apart.
Height depends on crop (e.g., 5-6 feet for tomatoes, 8 feet for grapes).
Add Horizontal Wires/Strings (optional):
Run wires between posts at the top and bottom to reinforce the netting.
Step 3: Attach the Plant Support Netting
Unroll the Net: Stretch it vertically between posts or horizontally above crops (common in greenhouse setups).
Secure the Edges:
Use zip ties, clips, or staples to fasten the net to posts or wires.
Avoid over-tightening to prevent tearing.
Anchor the Bottom: Bury the net’s edge slightly in soil or weigh it down with rocks to keep it taut.
Step 4: Train Your Plants
Early Stage: Gently weave young shoots through the mesh as they grow.
Weekly Maintenance: Guide unruly vines back into the net to prevent tangling.
Pro Tips for Maximum Efficiency
✅ Double-Layer for Heavy Crops: Add a second horizontal net layer for plants like pumpkins.
✅ Combine with Pruning: Remove excess foliage to direct energy into fruit production.
✅ Check Tension Regularly: Adjust after rain or wind to maintain stability.
Maintenance & Post-Harvest Care
Clean the Net: Remove plant debris to prevent mold or pests.
Store Properly: Roll up and store UV-resistant netting in a dry place during off-seasons.
Inspect for Damage: Patch small tears with repair tape to extend lifespan.
FAQs
Q: Can I reuse trellis netting?
A: Yes! High-quality HDPE netting is designed for 3-5 seasons of use.
Q: What mesh size is best for cucumbers?
A: A 10x10 cm mesh balances support and airflow for cucumber vines.
Q: How do I prevent sagging?
A: Use sturdy posts and anchor the netting tightly at both ends.


